How to make a strawbale doghouse
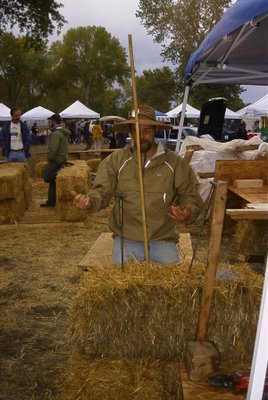
The weekend after our wedding we participated in a strawbale building workshop in Ft. Collins at the Sustainable Living Fair. When people found out we just were married they laughed at our supposed honeymoon choice.
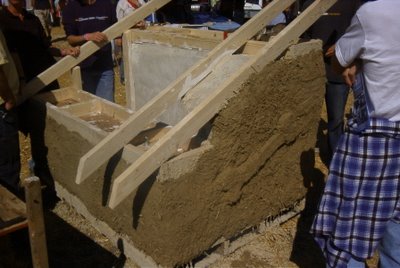
Mostly finished strawbale doghouse with friendly earthen bone molded into the earthen plaster wall.
The goal of the 2-day workshop was to teach the basics of strawbale building: floor/footing, strawbale selection, resizing and shaping bales, stacking bales, plastering, roof and tightening bales, scoring plaster, and lime wash paint. Left out of the class due to time and location were how to make a foundation and insulate the roof.
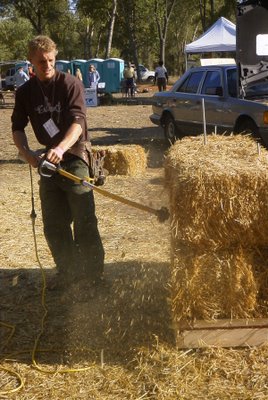
Curtis, president of Eco-Builders of Boulder, demonstrates two means to stack and hold bales in place: metal rods with threads for nuts, and, bamboo poles.
We helped make two strawbale doghouses which were auctioned off at the end of the festival.
Strawbale is a great insulator because cold or warm air molecules have a hard time wiggling their way up and around and over tiny pieces of straw. In cool arid climates like Colorado strawbale is ideal for east and west facing walls, leaving the south wall for passive solar collection (via large windows). The north wall, which collects the least sun and the most cold wind, would be ideally built out of a material with greater thermal mass like adobe, cob or rocks. Thermal mass slowly transfers warm or cold air.
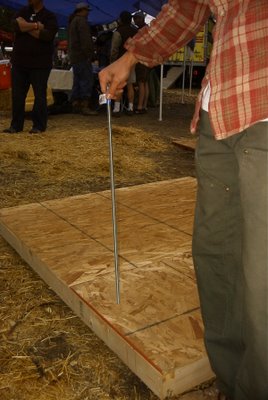
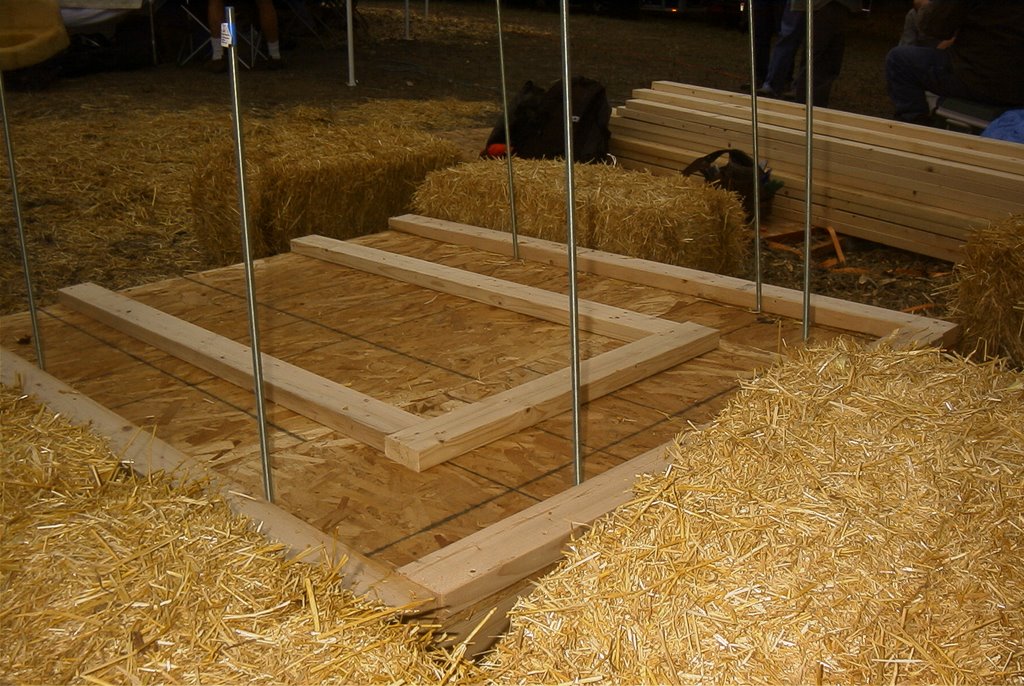
Floor footing of 2x4s with 3/4 plywood top. Threaded rods are placed strategically around the sides of the floor for the strawbales.

Val holding up underside of floor showing nuts tightened to hold the metal rods in place.
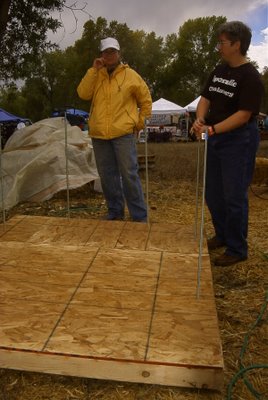
Metal rods now in place around the edges of the floor.
Our instructor made a small error by having the rods placed too close to the edge; ideally you'd want to center the rods more over where the strawbales will be placed.
Strawbales should be dense and consistent size. Ideally you want the largest straw packed tightly, instead of tiny pieces of straw that easily fall apart in a bale. Strawbales of good quality retail for about $2.50 for each bale. The doghouses (6' x 5') required about 12 bales each.

Raised floor/footing of 2x4s of the approximate width of strawbales.
This raised area was filled with loose straw. Normally the footing for a home would be filled with rock or styrofoam blocks to keep a water barrier from the straw. If snowmelt and rain water pools would well around straw, the whole of a wall would soak it up and you'd have mold, rot and worse. Because it was a doghouse, we were told, we'd cut this corner.

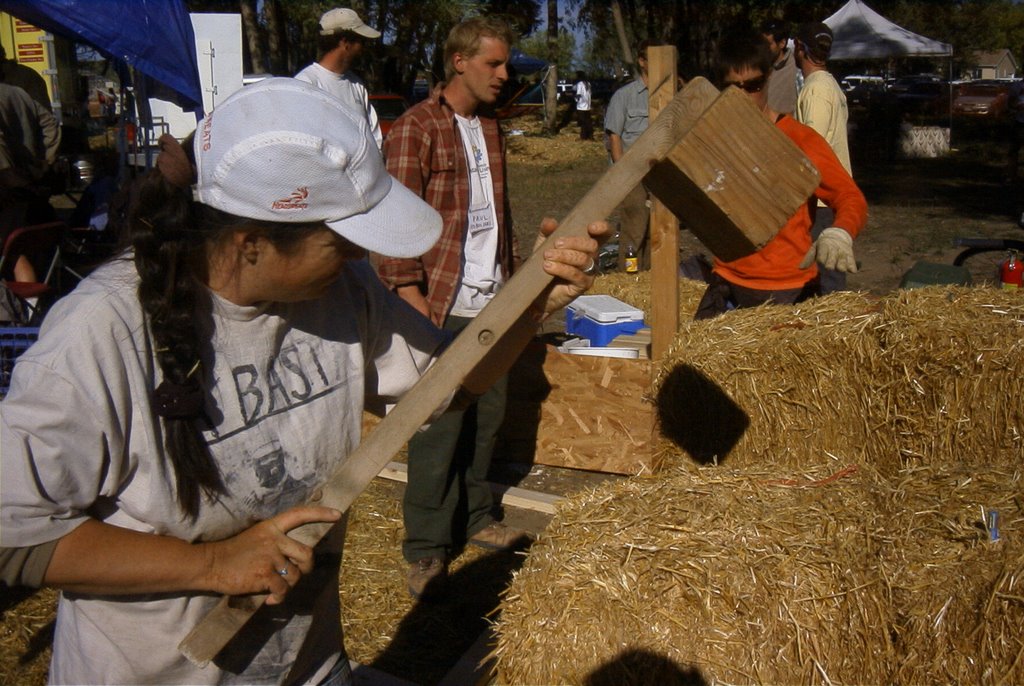
Val hammering top of stacked strawbales for density and tightness.
An instructor using a trimmer to carefully shape bales.
Unless you want curvy walls with some dubious structural integrity issues, having flat walls aids in the construction.
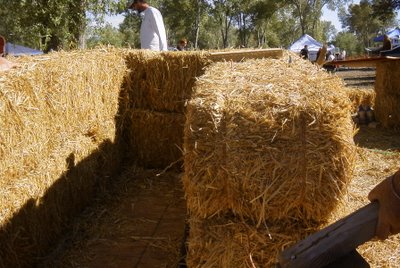
Stacked bales with the home for the dog in the middle. Note the metal rod sticking up on the right. Soon a 2x4 roof will be placed over the bales and rods and nuts affixed to tighten down the whole shindig.
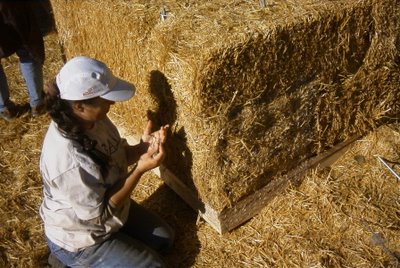
Val resizing a corner that stuck out.
This only works on ends of bales. To avoid lumps and to help ease construction, areas where the bales are sticking out or bulging can be resized by carefully pulling out straw and then using a small 4" piece of bamboo and tightening down the loose baling twine. For side sections of bulging (in or out) strawbales, we used chicken wire stapled in, then filled in loose straw and used homemade nail clasps (from snipped barb-wire twisty-rods).
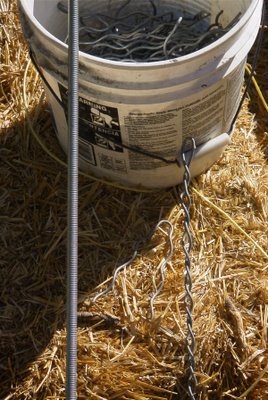
Threaded metal rods and twisty rods usually used in creating barb-wire cattle fences.
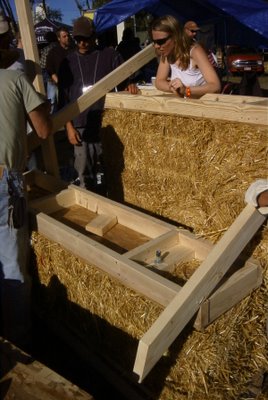
Slanted 2x4 in place. Note the metal rod sticking out with a nut tightened down over it.

Our plaster instructor beginning to use trowel and lime plaster on strawbale walls.
For one of the doghouses we used an earthen plaster first coat and a lime plaster second coat. Lime is caustic to the skin (can cause burns to exposed skin). We wore latex gloves (use good ones). Earthen is cheaper but more time consuming for companies paid by the hour. As it was, a thin wet earthen plaster coat was sprayed on the create more adhesion for the lime plaster. The earthen sprayed plaster needed an overnight to dry and set-up before the lime paster could be applied.
For the other doghouse we used an earthen plaster, which was funner because it could be shaped easily and it was not caustic (though the mix we used had sizable sharp pebbles -- better for cohesion -- which made us want to use latex gloves to shield our baby soft hands).

Mostly finished strawbale doghouse with friendly earthen bone molded into the earthen plaster wall.
The goal of the 2-day workshop was to teach the basics of strawbale building: floor/footing, strawbale selection, resizing and shaping bales, stacking bales, plastering, roof and tightening bales, scoring plaster, and lime wash paint. Left out of the class due to time and location were how to make a foundation and insulate the roof.
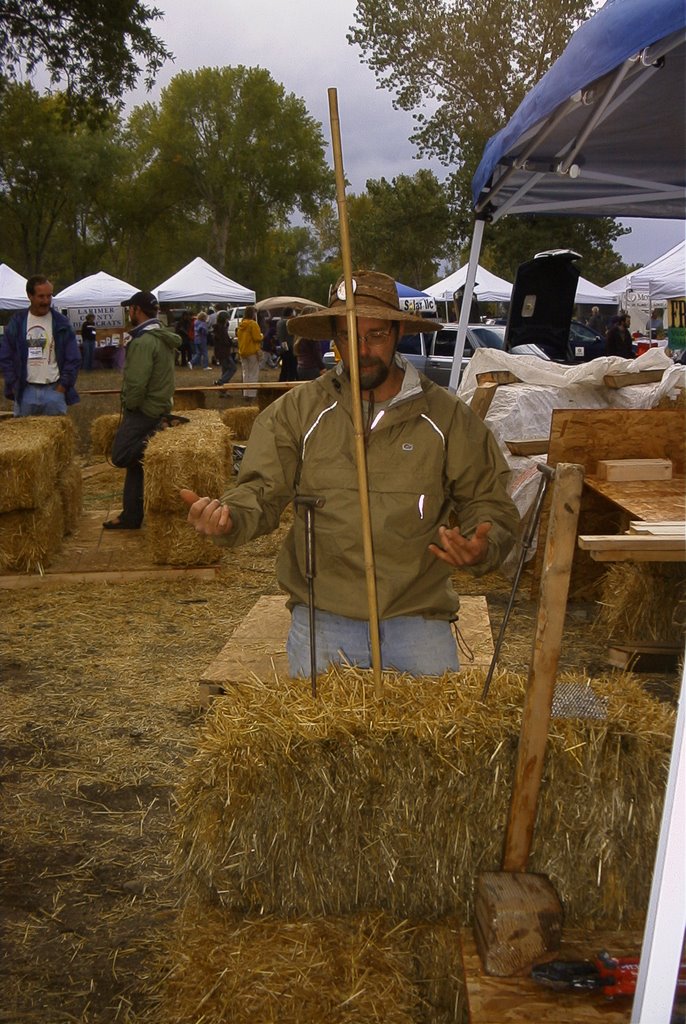
Curtis, president of Eco-Builders of Boulder, demonstrates two means to stack and hold bales in place: metal rods with threads for nuts, and, bamboo poles.
We helped make two strawbale doghouses which were auctioned off at the end of the festival.
Strawbale is a great insulator because cold or warm air molecules have a hard time wiggling their way up and around and over tiny pieces of straw. In cool arid climates like Colorado strawbale is ideal for east and west facing walls, leaving the south wall for passive solar collection (via large windows). The north wall, which collects the least sun and the most cold wind, would be ideally built out of a material with greater thermal mass like adobe, cob or rocks. Thermal mass slowly transfers warm or cold air.

Floor footing of 2x4s with 3/4 plywood top. Threaded rods are placed strategically around the sides of the floor for the strawbales.
Val holding up underside of floor showing nuts tightened to hold the metal rods in place.

Metal rods now in place around the edges of the floor.
Our instructor made a small error by having the rods placed too close to the edge; ideally you'd want to center the rods more over where the strawbales will be placed.
Strawbales should be dense and consistent size. Ideally you want the largest straw packed tightly, instead of tiny pieces of straw that easily fall apart in a bale. Strawbales of good quality retail for about $2.50 for each bale. The doghouses (6' x 5') required about 12 bales each.
Raised floor/footing of 2x4s of the approximate width of strawbales.
This raised area was filled with loose straw. Normally the footing for a home would be filled with rock or styrofoam blocks to keep a water barrier from the straw. If snowmelt and rain water pools would well around straw, the whole of a wall would soak it up and you'd have mold, rot and worse. Because it was a doghouse, we were told, we'd cut this corner.
Val hammering top of stacked strawbales for density and tightness.

An instructor using a trimmer to carefully shape bales.
Unless you want curvy walls with some dubious structural integrity issues, having flat walls aids in the construction.

Stacked bales with the home for the dog in the middle. Note the metal rod sticking up on the right. Soon a 2x4 roof will be placed over the bales and rods and nuts affixed to tighten down the whole shindig.

Val resizing a corner that stuck out.
This only works on ends of bales. To avoid lumps and to help ease construction, areas where the bales are sticking out or bulging can be resized by carefully pulling out straw and then using a small 4" piece of bamboo and tightening down the loose baling twine. For side sections of bulging (in or out) strawbales, we used chicken wire stapled in, then filled in loose straw and used homemade nail clasps (from snipped barb-wire twisty-rods).

Threaded metal rods and twisty rods usually used in creating barb-wire cattle fences.

Slanted 2x4 in place. Note the metal rod sticking out with a nut tightened down over it.

Our plaster instructor beginning to use trowel and lime plaster on strawbale walls.
For one of the doghouses we used an earthen plaster first coat and a lime plaster second coat. Lime is caustic to the skin (can cause burns to exposed skin). We wore latex gloves (use good ones). Earthen is cheaper but more time consuming for companies paid by the hour. As it was, a thin wet earthen plaster coat was sprayed on the create more adhesion for the lime plaster. The earthen sprayed plaster needed an overnight to dry and set-up before the lime paster could be applied.
For the other doghouse we used an earthen plaster, which was funner because it could be shaped easily and it was not caustic (though the mix we used had sizable sharp pebbles -- better for cohesion -- which made us want to use latex gloves to shield our baby soft hands).
posted by Val D. Phillips at 8:21 AM
![]()
![]()

1 Comments:
Very interesting ! V (from New Zealand)
Post a Comment
<< Home